 Shop Online


If you have a deck on your home, it’s essential to maintain it to keep it looking great and protect it from the elements. Part of deck maintenance is staining it every few years or as needed.
However, before you apply that fresh coat of stain, it’s crucial to properly prep and clean your deck to ensure the best results. Here’s how to prep and clean your deck before staining to streamline the process.
Clear All Items From the Deck
Before getting started, remove any furniture, plants, grills, or other objects from the deck surface. It’s important to have a clear area to work on and protect these items from getting stained or damaged.
 |  |  |
Do a Thorough Cleaning
With a clear deck, it’s time to clean! Start by sweeping the deck thoroughly to remove any loose dirt, debris, leaves, or twigs. Pay special attention to the areas between boards where dirt tends to accumulate.
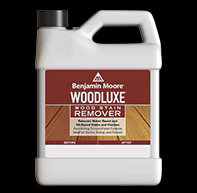
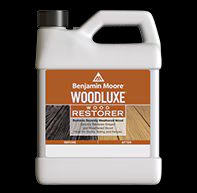
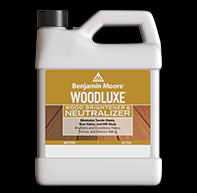
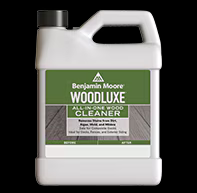
Once you’ve swept, use a pressure washer or hose for a deeper clean. Depending on the size of your deck and the level of dirt and grime, you can choose between a pressure washer or a standard garden hose with a high-pressure nozzle attachment. Begin by thoroughly wetting the deck, then apply a deck cleaner according to the manufacturer’s instructions. Use Benjamin Moore’s Woodluxe prep products to properly clean, brighten, and restore your decks surface.
Apply the cleaner evenly to the wet deck surface, starting from one end and working in small sections. Allow the cleaner to sit for the recommended time to loosen dirt and grime. Depending on the product you use, you may also need to scrub the deck with a stiff-bristle brush to remove stains, dirt, and mildew, especially in high-traffic areas.
After scrubbing, rinse the deck thoroughly using a pressure washer or hose. Be sure to rinse away all the cleaning solution and residue to avoid potential problems with the staining process.
 |  |  |  |
Inspect and Sand the Deck If Needed
Before proceeding to the next step, allow the deck to dry completely. Depending on the weather, you may need to let it dry for up to 48 hours before continuing the process. Looking at the weather forecast can help you decide the best day to start your deck prep work.
After the deck is dry and clean, it’s time to inspect it. Take a close look at the deck surface and check for any signs of damage, such as loose boards, splinters, or cracked wood. Repair or replace any damaged sections before proceeding with the staining, as this will ensure your stain lasts for as long as possible.
If your deck has rough spots, splinters, or previous stain or paint that has flaked off, you may need to sand the surface to create a smooth and uniform base for the new stain. Use a medium-grit sandpaper or an electric deck sander, working in the direction of the wood grain.
Protect the Surrounding Area
Now that your deck has been cleaned, dried, inspected, repaired, and sanded, it’s time to protect the surrounding area before staining. Ensure that anything near the deck—such as house siding, windows, and landscaping—is protected during the staining process.
You may need to use drop cloths or plastic sheeting to cover and secure these areas until the stain is dry. Once the surrounding area has been protected, you’re ready to start staining!
Color Wheel Has Everything You Need for Your Deck Staining Project
By properly cleaning and prepping your deck before staining, you’ll create a gorgeous surface with a long-lasting finish. When it’s time to revitalize your deck with new stain, Color Wheel has everything you need. Benjamin Moore’s Woodluxe innovative formulas deliver superior durability and protection, while also offering a range of gorgeous opacities and colors. Stop in and see us to get all your staining supplies and enjoy a freshly stained deck this summer!